Sunday, September 19, 2010

Smoked Roast Venison

There comes a time in every BBQers life that we need to try something new. For me, this is evident in this blog post where I cook venison for the first time.

I looked up some websites and polled some friends on the best way to attack this beast (or should I say, Bambie) :)

Here's what I came up with . . . I hope it turns out as well for you as it did for me.


Step 1. Get a roast of venison. The one I used was hunted by my friend Kent who is an avid bow-hunter. This roast is 4 lbs and comes from some "unknown" part of the deer.

Step 2. 5 DAYS BEFORE YOU PLAN ON COOKING make a marinade of 1/2 bottle of red wine, half a red onion and a full head of garlic, loosely cut up. Put the roast and the marinade in a bag and refrigerate for 4-5 days, turning the bag every day.


Step 3. Get a pound of bacon and a pound of beef fat. I got the beef fat from a local grocery store butcher - it was free!

Step 4. Wrap the venison with the beef fat and enough bacon top and bottom to cover it completely. Use tooth picks to hold everything in place.


Here's a side profile of the roast, note the beef fat sticking out under the bacon:

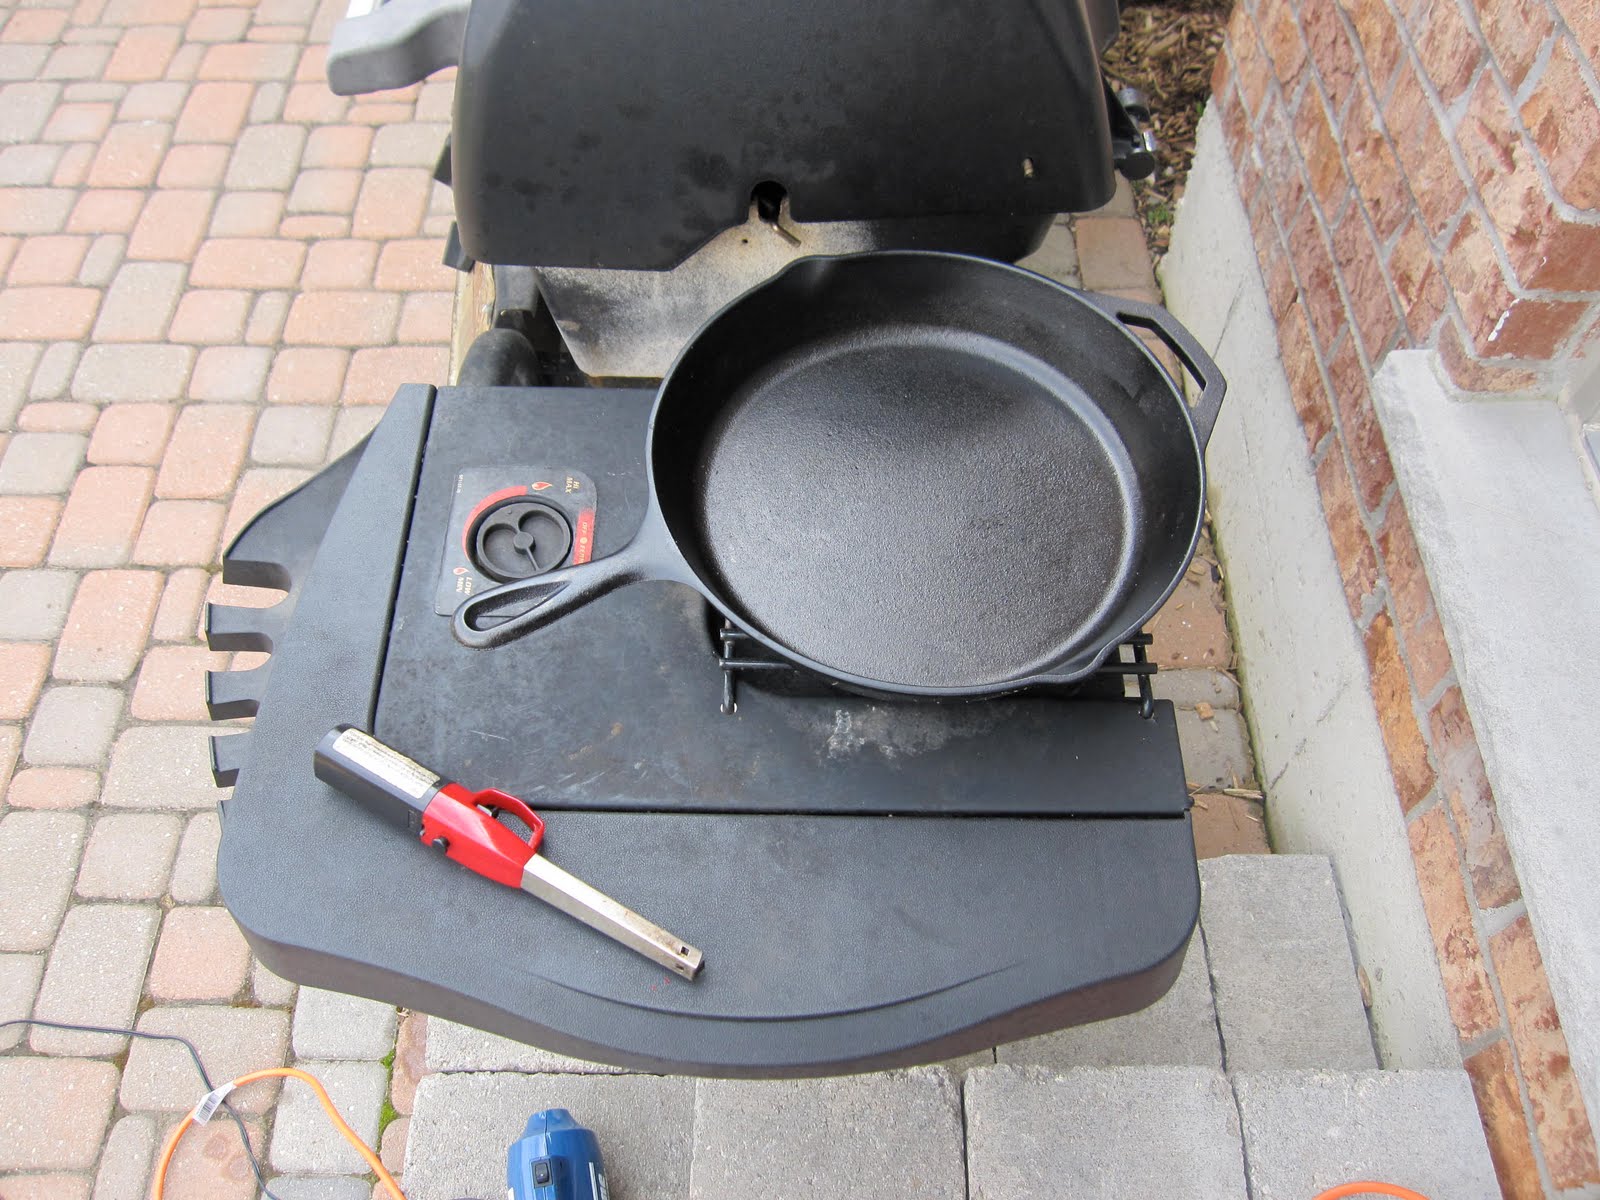
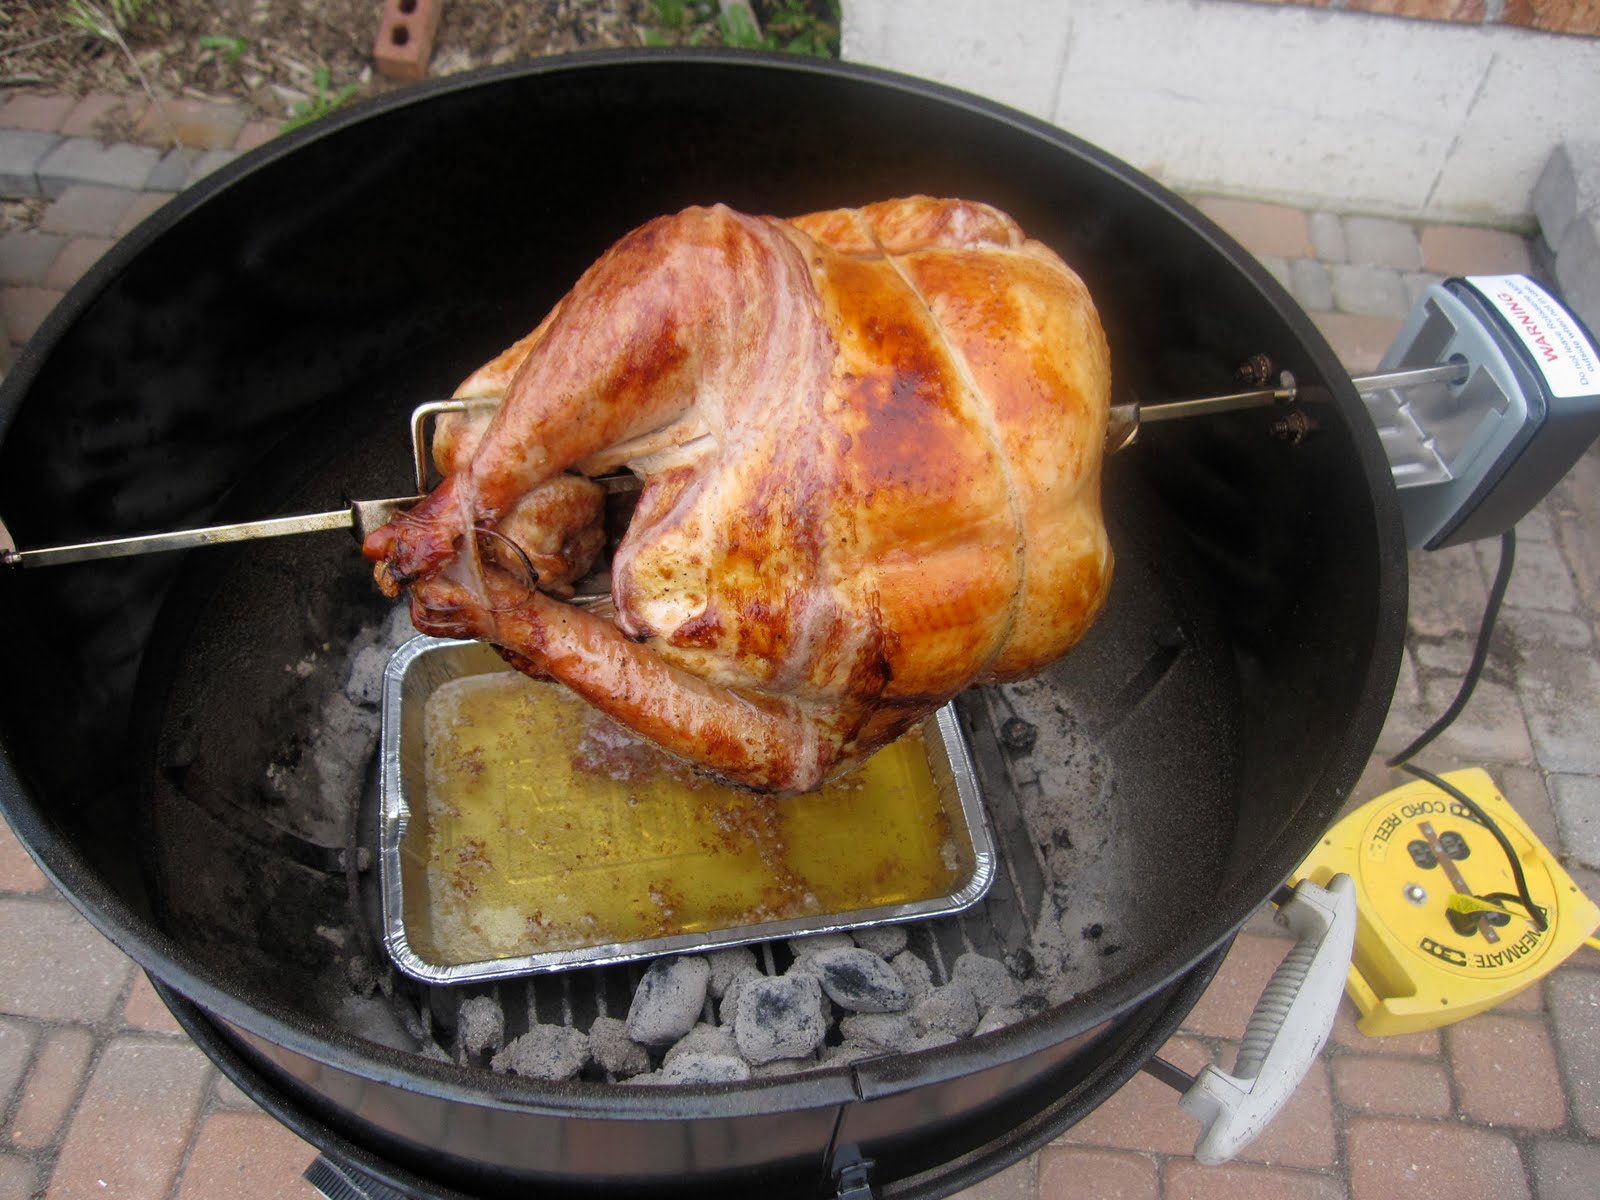
Step 5. Prepare your smoker and put the roast in. Here I'm using a "smokin sidekick" which is perfect for small roasts. I sits on top of your BBQ sideburner and uses propane. In the bottom I used Jack Daniels Wood Chips which are made from Oak Barrels used to make JD.
Step 6. Close the door and wait. The temperature reached a max of 225f and it took 6 hours to reach the desired temperature of 155f. In total, I went through 3 large handfuls of wood chips.
Step 7. Before you remove the roast, cut up rest of the bacon. and make some gravy:

  • Fry the cut up bacon in a pot and render the fat out. Discard the fat and keep the bacon to the side.
  • Take 1 cup of the discarded marinade and bring to a boil
  • Add 1 cup of beef stock
  • Boil for 10 mins on med-low heat
  • Add 1 cup of whipping cream (35%)
  • Add 2 tbsp of corn starch
  • wisk and boil for 2 mins
  • Reduce heat and simmer for 5 mins on low
  • Add bacon to sauce

Step 8. Once roast is done (155f), take out of the smoker and let it rest, covered in foil for 15 mins)
Step 9. Slice it, as you would any other roast of beef


Step 10. Enjoy!

This was truly incredible. The marinade and smoke took away the "gameyness" that is associated with wild meat. Added to that, the bacon-coating was extra smokey and complimented the roast very well.

Enjoy!

Saturday, July 17, 2010

Brick Chicken

To begin, this recipe doesn't involve smoke or charcoal . . . rather it's done on a gas grill with a cast-iron pan. Some purists may say say that this is not BBQ. Maybe, but regardless, it is some fine chicken!

Step 1. Rinse and dry a whole chicken.


Step 2. Using kitchen shears, cut out the back bone.


Step 3. Cut out the rib cage and as much of the breast-bone as you can - this will make for easier consumption later. Also, trip off as much excess skin around the edges as you wish.


Step 4. Heat up a cast iron pan on Med-High heat. You can see on my grill I have a side-burner. If you don't you can simply put the cast iron pan on your BBQ and it will work as well.


Step 5. Find 2 bricks.

Step 6. Wrap the bricks with aluminum foil to keep them clean.


Step 7. Liberally apply Oil to the bird - both top and bottom

Step 8. Liberally apply salt and pepper. I use Kosher Salt and fresh ground pepper.

Step 9. Liberally oil the pan.

Step 10. Place the chicken in the pan, skin-side down.

Step 11. Put the 2 bricks on the chicken and let fry for 15 minutes.


Step 12. After 15 minutes removed the bricks.

Step 13. Place the chicken, bottom-side down on a pre-heated grill. Here I have high heat on the left burner and low heat under the chicken. The BBQ was at 450 degrees. Let it cook for 15-20 mins more then remove and cover with foil for 10 mins to rest.

Step 14. Cut up and enjoy.


My initial thought was to cover the chicken with my typical BBQ spices before cooking (cumin, garlic powder, chili powder, dry mustard) however, these would have only burned. This recipe is best when it's kept simple. The crust on the skin, although black, is not burned and it is a welcome taste to what most people eat several times per week.

Charcoal BBQ Rotisserie Turkey

Well, I wish I could say that it's taken me so long to post another recipe because I've been away on special assignment overseas . . . but I can't. I have 3 kids . . . life gets busy once baseball, gymnastics, and soccer start!

For today, it's time we look at Turkey.

Turkey is one of those meals we often reserve for Thanksgiving and Christmas and that's about it. My questions is, WHY?!?!?!?! This bird is GOOD and good birds deserve to be eaten many times!!

With that being said, this recipe puts a new twist on a traditional, dry bird.

To begin, any BBQ enthusiast knows that just because you paid a lot for a cut of meat, doesn't mean that meat will be better than if you just gave a cheaper cut of meat some love . . . Often times turkeys sell for $2.50+ per LB and are priced that way as they are "deep-basted" - essentially they are pumped full of salt so the breast meat doesn't dry out. This recipe will save you some money, and help you control what goes into the bird.

Pictured below is the desired bird. I got this one on sale for $0.99 per LB. Often times you may find, what are called, "utility turkeys" on sale for this price as well - just be advised they may be missing a wing (but who really eats the wing anyway).


Step 1. The day before you want to eat, unwrap the bird. Here, we can see that this bird comes "trussed" which means I don't need to get out the butcher's twine and truss the bird myself

Step 2. Prepare the Brine.

Brining is how we are going to do our own deep-baste.

The brine pictured above consists of:
  • One can of Orange Juice Concentrate
  • 6 liters of water
  • 1/2 cup dark brown sugar
  • 1.5 cups of Kosher Salt
  • A few bay leaves

Step 3. Put the turkey and the brine in a large zip lock bag in a roasting pan and refrigerate overnight.

Step 4. 4 hours before you want to eat, remove the bird and rinse with cold water. Then dry off with paper towel.


Step 5. Remove the tips of the wings with a heavy knife. The tips will only burn so there is no need for them to be there.


Step 6. Tie the wings to the bird. Above, I mentioned this bird was already trussed . . . well, I did this recipe in April and now it is July . . . a lot of time has gone by. Regardless, you don't need a full truss, rather simply tying the wings around the body will do - all we want to ensure is the wings don't come loose during the turning.


Step 7. Prepare charcoal for the BBQ. Here we can see I have a full chimney of charcoal briquettes. You can tell the charcoal is ready when white ash appears on the top.


Step 8. Prepare a 2-zone fire with a drip pan (filled with water) in the middle. The water will help regulate the heat as well as prevent any flare-ups from the turkey drippings.


Step 9. Put the rotisserie skewer on the turkey and affix to the rotisserie unit on your BBQ . . . obviously you will need a rotisserie unit for your charcoal bbq (don't worry, Weber has them)


Step 10. Cover the turkey and set it and forget it. After 45 mins, this is how the bird looks. At this time, you will want to add a handful of new charcoal as well.


After 2 hours, this is how we look . . .


Ensure that when you are not checking on your bird, that the BBQ remains covered


Step 11. After the bird reaches the desired temperature for doneness (165 degrees in the thickest part of the breast) you can remove from the rotisserie and let it rest for 15 mins. This should take 3-4 hours, depending on the heat from your BBQ


Step 12. Carve . . . eat . . . enjoy


I was very pleased at the way this turned out. There was a slight sweetness from the brown sugar and orange juice brine, however the flavour of the coals really stands out as well. I would definitely make this again.


Sunday, April 18, 2010

Sweet n' Stickey Wings

I've always been hesitant to make wings at home - as a self-appointed "wing-expert," I find that homemade wings seem to lack a certain pizazz that can only be attained by consuming all-you-can-eat wings at your local sports bar. With that being said, however, I thought I would give it a try . . . I'm glad I did. This will be the first in a series of blogs on WINGS.

There are about as many different sauces/flavours/spices for wings are there are grains of sand on a beach. For my first batch, I thought I would keep it simple and use my homemade Sweet n' Stickey Sauce (check out the recipe from my older post). The rest, however, is original. Here's how it goes:

Step 1: Make the marinade:
  • 1/2 Cup White Vinegar
  • 1 TBSP Chili Powder
  • 1 TSP Cayenne Powder
Wisk these ingredients together to combine.


Step 2. Rinse and dry the wings - this recipe used 15 wings - if you are going to use more, double the marinade.


Step 3. Put the wings and Marinade in a Freezer Bag, smoosh around and let it refrigerate for 2 hours

Step 4. Once the wings have absorbed the vinegar and spice, drain them in a colander and discard the marinade

Step 5. Drizzle some oil over the wings and toss to coat.

Step 6. Prepare your BBQ. Below you can see I'm using my Weber Charcoal Kettle with a full Chimney of charcoal.

Step 7. Prepare a 2-zone fire. As you can see below, the heat is focused on only one side of the BBQ. This will enable us to use high heat, when needed and indirect heat later on. You can achieve the same effect on a gas grill by using only 1 burner.

Step 8. Place the wings directly over the coals and flip/toss often to avoid burning. Keep them over the high heat for about 10 minutes so the skin gets crispy


Step 9. Move the wings to the edge of the coals so the are on indirect heat. Let them cook here for another 10 minutes, turning over every few minutes.


When the wings are cooking on the cooler side of the BBQ, you can cover them up to protect the heat.


Step 10. Sauce the wings. Use the sauce from my blog on Sweet n' Stickey Chicken n' Ribs Sauce. Let them cook for another 10 minutes; turning and saucing as much as you desire.

Here is the finished product:

These wings were very tasty. I had initially thought the vinegar, chili, cayenne marinade would add more heat, however it simply added some flavour. To add heat, we'll have to kick it up a notch next time. All in all, these wings were sticky, crispy, juicy, and delicious.

Happy BBQ'n

Seb